Step 1: Click on the Payments Links menu.

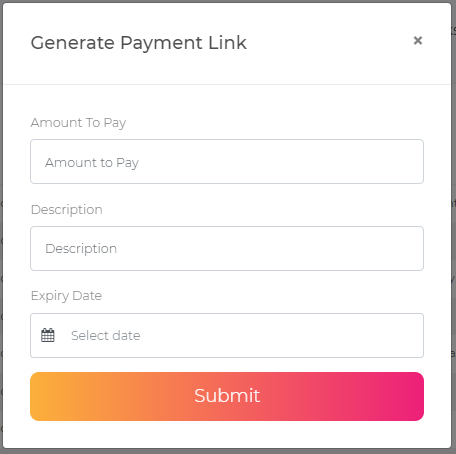
Step 2: Click on the "Generate Payment Link" button found in your dashboard.

Step 3: Fill in the details such as "Amount to Pay" and other fields.
Note: The "Amount to Pay" field only allows numbers 0 - 9 and one period character.
Step 4: Set Expiry Date and Time
Note: When the "Expiry Date" field is clicked, a calendar popup will show and allows the user to set the day and time of expiry.
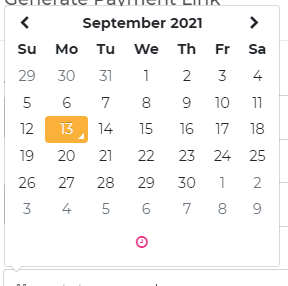
Note: To set the time, click on the pink clock icon on the lower part of the calendar pop up.
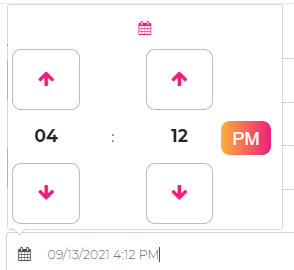
Note: Review your inputted details before proceeding to the next step.
Step 5: Click on the Submit button
Step 1: Click on the Payments Links menu.
Note: You will see a table with the following information:
Date Generated, Link, Amount, Status, Description, and Expiry Date.
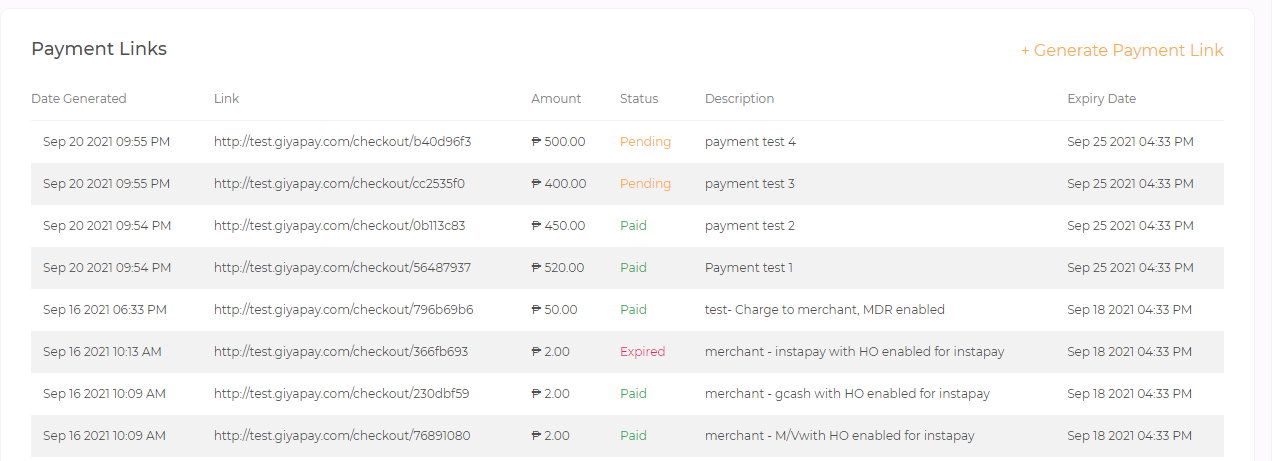
You should be able to see the "Generate Payment Link" on your dashboard. Upon generating new links, a new row will be added at the top of the table with the default "Pending" status.